Sunday, June 30, 2013

Sauteed Cabbage


So this is the easiest recipe ever, like so easy its not really a recipe. But its delicious and we've been obsessed with it for months so its getting posted. Now, I know that sauteed cabbage doesn't sound super divine or anything, but we have it about twice a week and it always leave me wanting more.

Before I post the recipe I have to come clean.... This isn't my recipe at all. Like not even a little bit. It's 100% Mark's creation through and through, and boy it sure is a good one.

Cheap, easy, and tasty, what more do you want in a side dish? Not to mention it counts as a serving of veggies ;).

Sauteed Cabbage

Serves 2-4

Ingredients:

1/2 head of cabbage, chopped

1/3 onion, chopped

1 1/2 tablespoons oil (I LOVE it with coconut oil)

Salt to taste (at least 1 teaspoon)

Directions:

Heat oil in a large skillet over medium heat. Once oil is hot lower temperature of burner to medium-low setting.

Add onion and cabbage, stir to coat, the IMMEDIATELY add salt. ( <------ Mark says this is a vital step). DON'T SKIP.

Stir everything again and let cook until cabbage is soft and semi-translucent, about 15-20 minutes.

Put on plates and serve.

Enjoy :)

See, I told ya this wasn't even really a recipe.
Non-translucent cabbage

Semi-translucent cabbage

Sunday, June 16, 2013

Baked Egg Rolls


Mark was never a huge fan of egg rolls, that is until I introduced him to those freezer section ones and deep fried them. They are delicious, don't judge.

A couple months ago Larry, the security guard at my place of employment brought some homemade beef ones to work. They were amazing, but also deep fried.

Needless to say we needed to find a healthier way to indulge in the Chinese restaurant staple. So here I give you my version of vegetarian baked egg rolls.

Although the wrapper is missing that "deep fried" crunch, the fillings flavor is spot on.

Make these with your next stir fry.

(Pictures follow recipe)

Baked Egg Rolls
Adapted from here

Serves 2-3

Ingredients:

1/2 tablespoon oil

1/4 of a head of cabbage

1-2 carrots

1/2 onion

1 clove garlic

1 tablespoon soy sauce

1/8 teaspoon ground ginger

fresh cracked pepper

Directions:

Heat oil in a large frying pan over medium heat. While the pan is warming, attached the shredding blade to your food processor and run carrots through. Place shredded carrots on a large plate and set aside. Now attached the large blade to your food processor and pulse cabbage until chopped semi-finely. Place cabbage on plate next to carrots, set aside.

Next, slice onion thinly and mince garlic clove. Add onions to warm pan and saute for 1-2 minutes, then add carrots. Stir a couple times before adding cabbage. Once cabbage is in the pan allow everything to cook for about 2 minutes, add garlic and stir to combine.

Pour in soy sauce, sprinkle in ginger, and crack in some pepper, stir everything and cook for about another 2 minutes. Place mixture into a bowl to cool.

Preheat over to 400 degrees Fahrenheit and line a baking sheet with a Silpat or aluminum foil.

Once filling mixture is cool its time to start assembling the egg rolls. To do so, place an egg roll wrapper in front of you making sure a corner is facing you and brush the sides of wrapper with water. Put no more than 4 tablespoons of filling just below the center of the wrapper. Fold corner facing you over the filling, then fold the side corners in to hold the filling. Place seam side down onto baking sheet; repeat with remaining filling.

Spray tops with some cooking spray and place in oven. Bake for 10 minutes, flip, and bake for another 10 minutes.

Remove from oven and serve immediately.

Enjoy :)

Monday, May 27, 2013

Pretzel Rolls


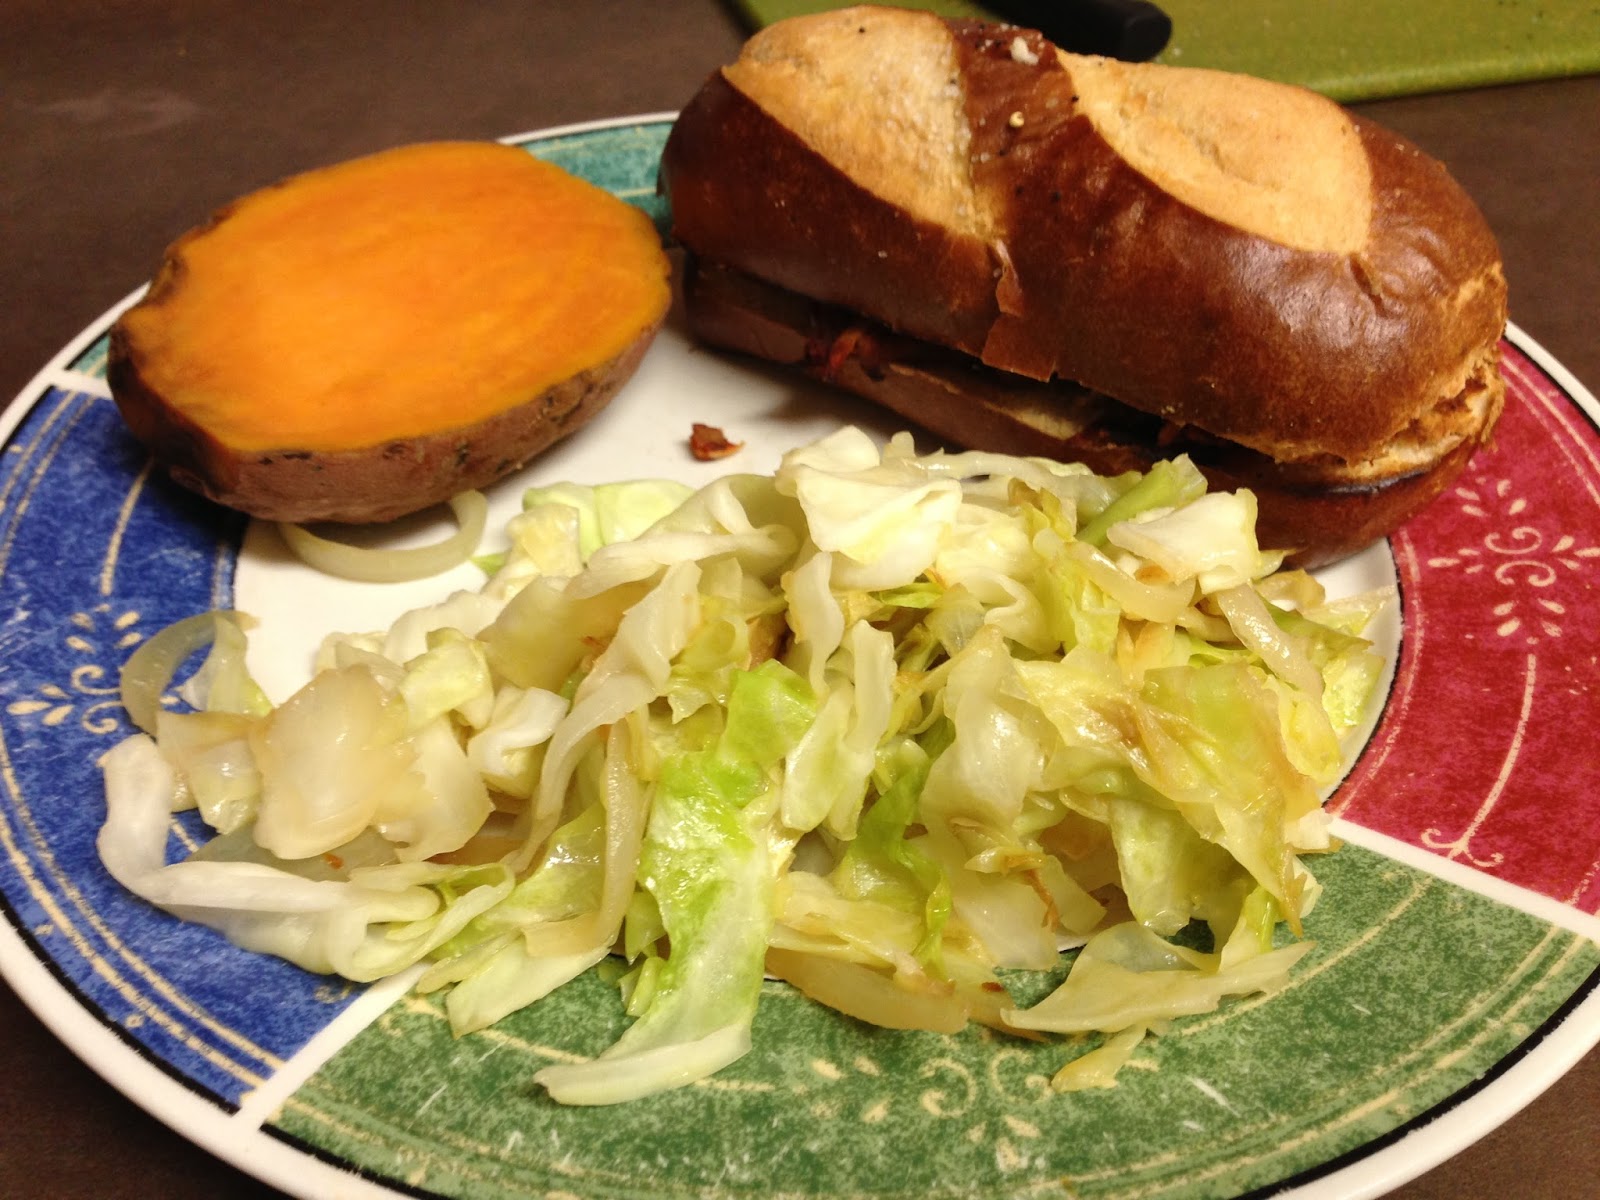
Its been awhile... Life got busy. Hopefully I'm back a little bit regularly now. I am, however, back with a goodie. This one is a keeper. They are best day of, obviously, but they made great sandwich bread all week long.

They are so good even my super picky "I only eat real pretzels from Germany" husband asked me to make them again.

A word of advice, if you can find either non-diastatic malt powder (replaces the sugar) or malted barley flour use them, as I think they will help yield even closer results to the store bought version. I couldn't find either.... without ordering online and I refused to wait that long.

Me want pretzel rolls.

Pretzel Rolls

Yields 12 sandwich sized rolls

Ingredients:

4 cups flour

1 cup warm water

1/2 cup hot water

1 package active dry yeast

1 tablespoons sugar, divided

1 1/2 teaspoons salt

8 cups water

2 tablespoons baking soda

1 egg white

salt for sprinkling

Directions:

Stir in 1/2 tablespoon of sugar into 1 cup of warm water and sprinkle package of yeast evenly over top. Stir around lightly and set aside for about 5 minutes to allow yeast to bloom.

In the meantime, stir together flour, other 1/2 tablespoon sugar, and salt in a large bowl. Make a well in the center of the flour mixture and pour in bloomed yeast and hot water. Stir everything together until a sticky dough forms. Turn dough onto generously floured countertop.

Knead until a smooth, but still semi-sticky dough forms. Place into a clean bowl and cover with a damp towel. Set aside for about 45 minutes to an hour or until double in size.

Line a cookie sheet with a Silpat or parchment paper and set aside. Turn dough back onto lightly floured surface and cut dough into 4 equal pieces. Cut each of those 4 pieces into thirds making 12 equal pieces.

Roll each piece into a smooth ball and place on lined baking sheet about 2 inches apart. Place a towel over sheet and set aside for 20 more minutes.

While those are resting, froth egg white and preheat oven to 400 degrees Fahrenheit. Heat the 8 cups of water in a large non-reactive pan to a boil. Once it starts to boil stir in two tablespoons of baking soda. Place rolls 1 at a time (or no more than 3) and cook for about 1 minute on each side. Using a slotted spatula take rolls out of water and put back in their places on the baking sheet.

Once all rolls are back on baking sheet brush the tops with egg white and sprinkle with salt. Use a sharp knife to cut a shallow "+" sign into top of each roll.

Place the pan in the oven and bake for 25-40 minutes depending on how deep brown you want the rolls to be. Set on a cooling rack and allow to cool. Store in a airtight container for up to a week or in the freezer for up to 3 months.

Enjoy :)

Step-by-step in pics:
Mix everything together

Knead into a ball

Allow to double in size

Roll into mini balls and allow to rest for a bit

Boil in a baking soda/water bath

Place back on pan

Bake them up to preferred darkness

Monday, April 22, 2013

Puppy Chow


Waaaaay back in October or November I asked some coworkers for suggestions for snacks they would like me to make. Someone asked for puppy chow and finally, 6 months later I'm getting around to making it for her.

I know the recipe is pretty standard but I'm crediting myself with it because I didn't research one to go off. Besides, I doubt many recipes call for refrigerating the mix overnight and adding extra powdered sugar in the morning. Not to mention I put this recipe in the "healthy" category because I made it without butter or oil. Winner.
My "taster" bowl
Regardless, this stuff is dangerously addicting. You've been warned.

Saturday, April 13, 2013

Restaurant Review: Christo's (Minnetonka)

What should you do if a friend is coming over and you burn dinner? Use it as an excuse to try out a new restaurant of course! Which is exactly what I did one evening last fall when Daren was coming over to hang and the chili I had in the slow cooker decided to stick to the bottom and ruin itself.

I usually don't suggest Greek places because Mark isn't a fan of the Tzatziki sauce (...I know!), but I was longing for some gyro meat so to Christo's we went. This excited both Daren and I tremendously as we are both huge fans of Greek food.

Since I was so hungry and already knew what I was going to order, I asked for the spinach & artichoke dip with flatbread appetizer to give the gentlemen time to browse the menu. In all honesty, the only thing I remember about this item is the bread. Not that its a bad thing! The flatbread was made on their wood fire grill and was soft yet crispy. I'm sure the dip itself was tasty, but THAT bread.... all day. The closest comparison I can think to compare the flatbread with is perfect thin crust bread sticks.

Monday, April 1, 2013

Curried Lentil Soup


Lentils. Not that anyone could tell from this blog, but I'm slightly obsessed. I'm 90% positive I could have them everyday for the rest of my life and be satisfied. If I chose my last meal before passing it would be lentils with some sautéed cabbage. I would estimate that we go through an average of a pound of lentils per week here in the Welchmeyer household. Obviously my doing, but Mark enjoys them about as much.

Most of the time I just boil them in some broth for a quick side with dinner, hardly blog worthy. What is  blog worthy, however, is this quick curry flavored lentil soup. I've made it for lunch every Wednesday for the last 2 months and will continue to make it for the foreseeable future.

On top of being ridiculously filling and embarrassingly simple, its one of those meals that leaves an awesome aftertaste in your mouth for hours. Based on my recipe for basic lentil soup I posted awhile ago, this is a worthy upgrade. One that I highly suggest trying. Serve with some crusty bread or crackers for a healthy, light lunch.

Sunday, March 10, 2013

Mushroom Stroganoff


Growing up one of my favorite meals was beef stroganoff. You know, the one with the sauce made of browned beef, onions, cream of mushroom soup, milk, and sour cream served over egg noodles. My mouth waters just thinking about it. Slathering the leftover sauce over toast the next day... Fogettaboutit.

I however had never made it.... for two main reasons:

1. It was one of those dishes that was always made by the same person and will never ever taste the same. Ever. No matter what. Ever.

2. I don't even have a can of cream of mushroom soup in my pantry.

Not to mention, up until about 3 months ago I thought I loathed mushrooms so buying some at the store for cooking was out of the question. Then I took a cooking class and learned how to properly prepare mushrooms for cooking and I've been hooked ever since.

After browsing through the recipes on Gina's site and coming across one for mushroom stroganoff (using real mushrooms!) I had to give it a try.

Flavor-wise this dish was fabulous! Was it the stroganoff I remember from my childhood? No, but I wasn't expecting that either. It hit the spot and thats all I care about.

The best part of all: the sauce tastes even better leftover on top of rice.